Construction of the L’Obsidienne  road roller (5)
Page created on 8/06/2025.
Painting and assembling the model
Preparation before painting
Before painting, I degrease all the parts by placing them in a small pot filled with slightly diluted caustic soda solution, the whole being then placed in my ultrasonic cleaning tank, filled with water. At the end of the process, the soda has turned a yellowish colour, probably due to the burnishing of the brass parts. Of course, this is followed by a thorough rinsing.
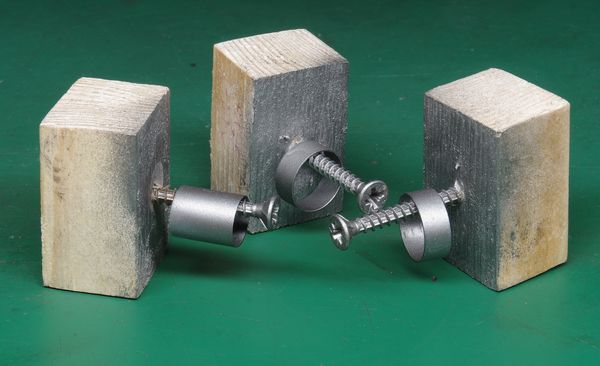
A support must be provided for each part. For most of them, a spring clamp is sufficient (but be careful of the risk of ejection!). For the body, I drilled a ⌀ 1.6 hole underneath and inserted a trimmed cocktail stick.
Painting
First step: priming. This improves the paint’s adhesion. I used Decapod 8004 primer, diluted to approximately one part product to two parts special thinner, in two coats spaced half an hour apart. Unfortunately, these products are no longer available, nor are their successors 8500 and 8501. Furthermore, it is not easy to judge the correct coverage, especially for the ivory-coloured resin body.
The next day, painting session. First, the yellow: I chose Decapod Lithos 439 which, although a little too intense, represents a restored roller well.
I had a problem with this paint (solvent-based acrylic), which was a little old (2021): although it was still liquid, I noticed that it quickly clogged the airbrush nozzle. In fact, there were a lot of small dry flakes in it. After filtering it through a nylon stocking, everything went smoothly. Here too, I applied two coats half an hour apart.
For the red (mainly the wheel sides and arches), I had Decapod vermilion 605. However, the shade usually applied is closer to carmine, and I did not want to buy a whole pot for such a small amount. So I tried two approaches:
- Adding a little universal blue dye, which can be found in most DIY stores. After adding a little Decapod thinner, the dye immediately broke down into solid particles. So that could not work!
- Adding cyan printer ink. The same test this time showed a dispersion of liquid dye bubbles in the thinner. When shaken well, these bubbles disappeared. So I tried adding this mixture to the paint, and everything went well. I got the desired shade with a bit of luck, I must admit.
Finally, for the steel colour of the wheel weights, I tried Vallejo steel. This shade was too light and did not convince me. On the other hand, the dropper bottle format is very handy for clumsy people like me who easily spill pots! However, this means you have to mix the paint with the thinner directly in the airbrush cup, which is not necessarily easy. I read that some people recommend bubbling the paint by blocking the nozzle to mix it.
Here are all the parts painted at the end of the painting session.
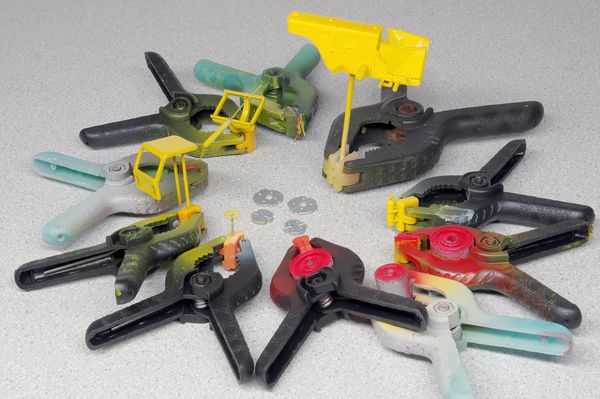
Browse the image to see the details.
Test assembly with ballast weights
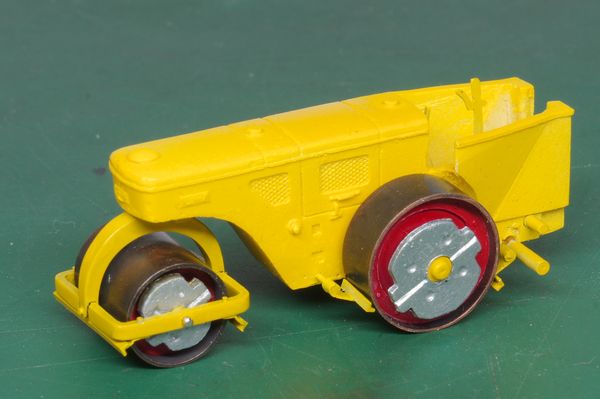
I do not like this trial, as the ballast weights cover too much of the wheel flanks. I will therefore not install these parts, although I am aware that the rear ballast weights can be installed at will. Note the lack of paint inside the cab.
As can be seen above, the rear wheel axle had been painted yellow along with the body. The wheel assembly test damaged this paint and left red marks. I therefore stripped the paint and then painted the axle ends with Humbrol No. 19 red, a shade quite similar to the previous red, although slightly darker and brighter. The bonnet grilles were blackened with diluted Humbrol acrylic paint no. 33, wiped off before drying.
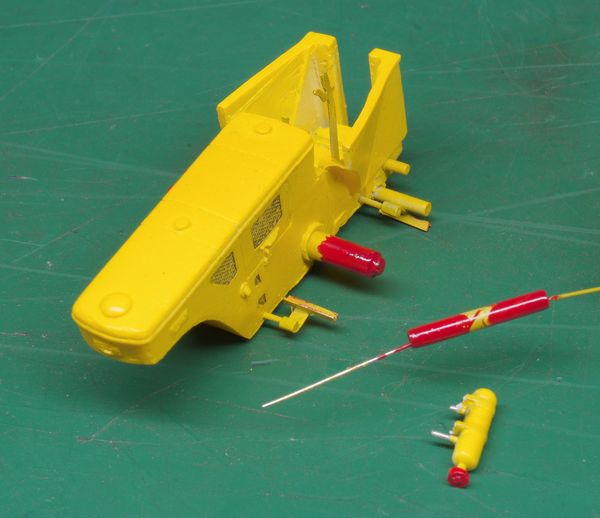
Painting the wheel tyres
After applying a coat of Decapod primer, I paint the wheel tyres with Tamiya “Metallic Grey” acrylic paint diluted in equal parts with its thinner. This paint provides good coverage and works well in the airbrush, despite the high ambient temperature (30°C). What is more, it keeps well, as the pot used was purchased six years ago!
Once dry, the paint is lightly polished with a simple cloth.
Gluing the window panes
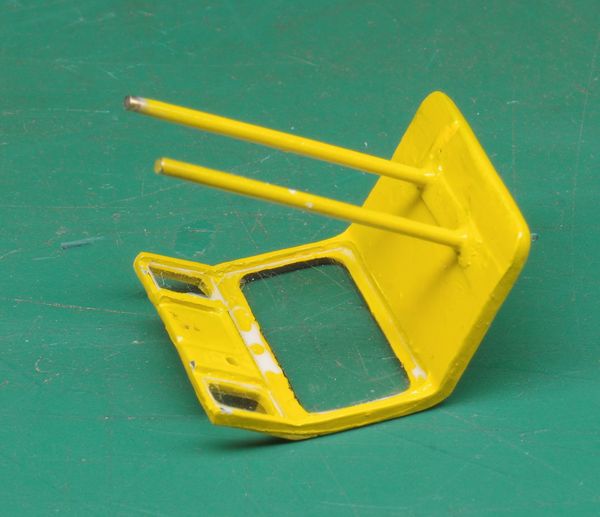
The frame around the main window was marked with a black marker (not a great result!). Then, diluted Kristal Klear was used to glue the window panes in place. They are barely visible in the following photo, which was taken before the glue had dried, hence the visible white marks.
Driver
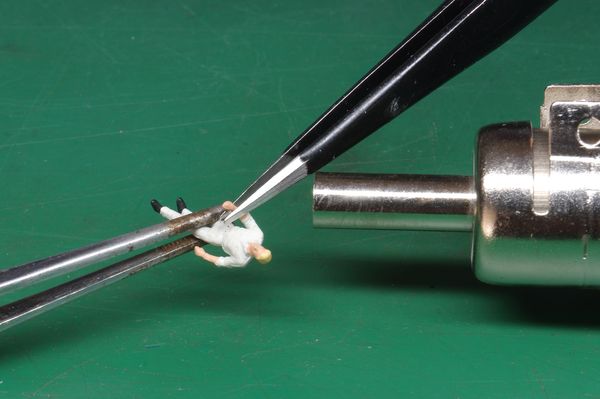
I chose a relatively neutral Preiser figurine, although it was a little too elegant for a machine operator. I do not remember the reference number, sorry. But it has both arms hanging down at its sides, and I wanted it to hold the steering wheel with its right hand. So I tried to bend its arm with my hot air gun. With the temperature set to 120°, the operation was completed very quickly, as the limb became very soft!
The driver is glued into the cab using Kristal Klear, as it needs to be removable if necessary. This glue takes a long time to dry, so a way of holding the parts in place during this time is required. I used a small metal document clip, suspended from a multi-fingered “third hand”.
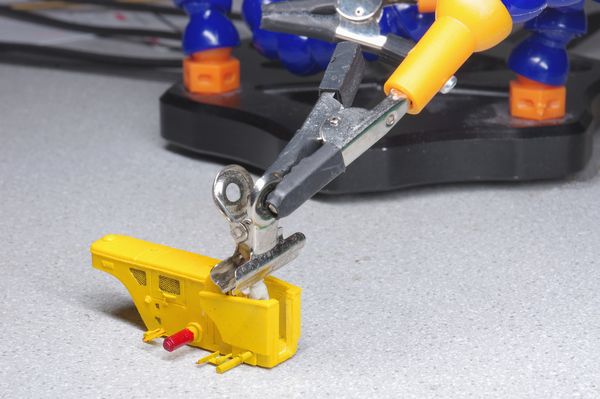
Click on the image for a closer view of the assembly.
Mounting the cab
I drilled a hole through the cab wall and the body of the vehicle to align the two parts using the steering wheel shaft. However, this alignment is not entirely correct. So I glue the steering wheel to the cab and cut off the excess shaft flush with the cab.
The cab is glued at three points, the rear pillars and the front, holding it delicately (white metal requires care!) with a small one-handed clamp. The glue used is Uhu Super; it is a gel-like cyanoacrylate that polymerises slowly enough to allow for repositioning if necessary.
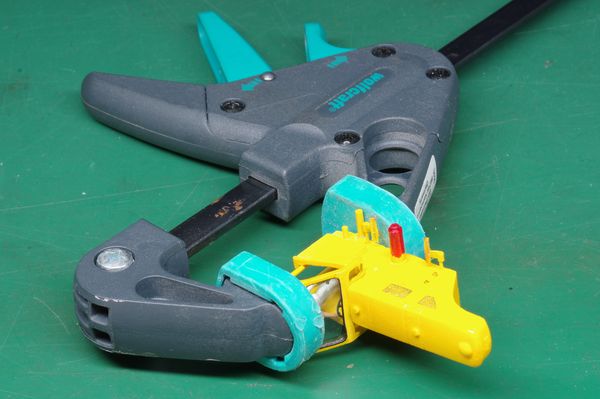
I notice that the driver’s head is stuck under the roof… But since it is made of plastic, it is not likely to get a stiff neck!
Front axle assembly
The wheel axle must be covered by photo-etched parts. But the ones provided Ⓐ are not suitable, because the wheel frame I made is thinner than the original. Fortunately, pieces Ⓒ of the parts meant to represent the rear scrapers Ⓑ will do the trick.
Display case
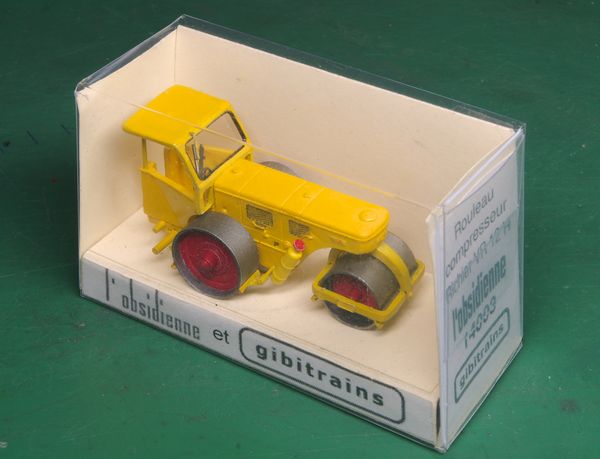
Okay, I admit it is a bit of a vanity project! I simply copied the Wiking Ruthemeyer roller case, which consists of a Bristol board interior and the case itself made of 0.25 mm transparent PVC.
Here is the diagram for this case.
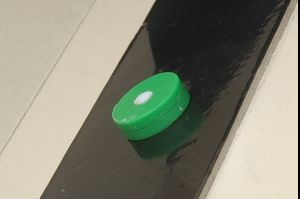
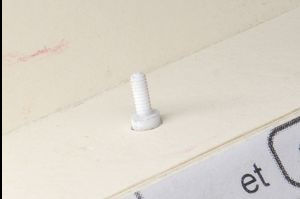
To hold the model in place, I used the ⌀ 1.6 hole drilled for the painting support, which I tapped with an M2 thread. I made a screw consisting of a threaded ⌀ 2 polystyrene rod and a head made of the same material, with a diameter of approximately 10 mm, for ease of handling. This screw passes through the Bristol board base reinforced with a thick cardboard piece, and it is held in place by a nut also made of polystyrene.
Professional ultrasonic cleaner
VEVOR TH20A 3.2 l
€58 (price 2025)
at Cdiscount.
Lithos 439 yellow
Decapod ref. 8047
€5.20 per 30 ml (price 2025)
at Decapod.
Vermilion 605 red
Decapod ref. 8062
€8.90 per 60 ml (price 2025)
at Decapod.
Steel paint
Vallejo ref. 71065
€2.70 per 17 ml (price 2025)
at OupsModel.
Mate metallic grey paint
Tamiya ref. XF-56
€2,80 per 10 ml (price 2025)
at micro-modele.
Acrylic thinner
Tamiya ref. XF-56
€9,60 per 250 ml (price 2025)
at micro-modele.