Page created on 23/09/2025.
Working on the body
Gluing the buffers
The buffers are spring-mounted, which unfortunately means that their plates become misaligned. To rectify this, I glue them with Kristal Klear from behind, holding them in place with spring clips on a small board so that the plates are aligned.
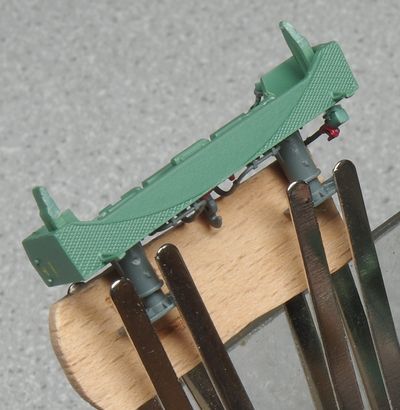
Note: in reality, a small board is also mounted above the buffers. I have removed it here to make the assembly more visible.
Detail of the gluing on the back.
Cab Layout
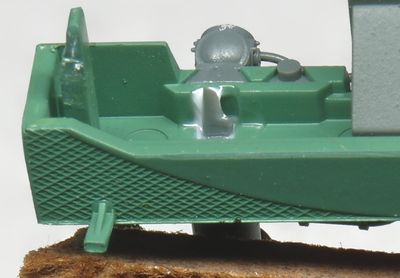
I want to access the interior of a cab to place a driver inside.
The interior is clipped onto the windows at three points on each side. To remove, unclip and then pull backwards. This will be easier with the grey covers removed.
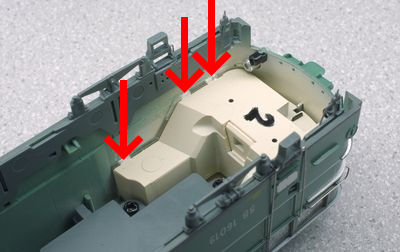
Views of the very detailed cab interior.
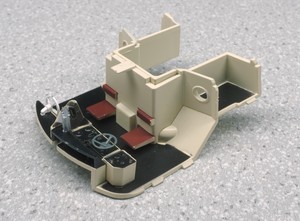
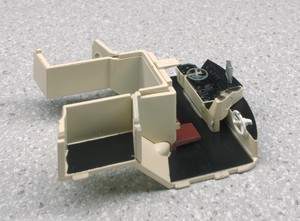
I glued a Preiser figure with Kristal Klear, cutting off its legs at the thighs; I could have left a little more…
Comparison of pad-printed and photo-engraved plates
Is it worth mounting photo-engraved plates? There are pros and cons.
I stripped the photo-engraved plates on 1000-grit sandpaper, moving the plate over the abrasive with an eraser (it is difficult to hold such small pieces with your fingers). By changing the position of the eraser, you can work locally if necessary.
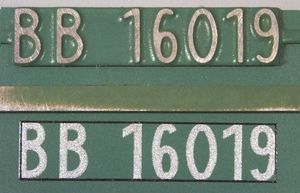
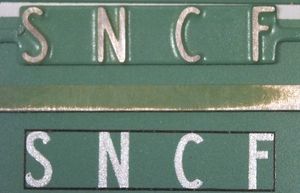
You can see that the pad printing is clearer and that its characters are more consistent, but they are too thick. Engraving inevitably rounds off the corners, but this will be invisible from a reasonable distance. Note that the background colour is not identical to that of the body (plates photographed together).
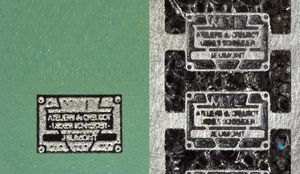
As for the manufacturer’s plates, they are curiously in negative relation to each other. The T and E of MTE do not stand out well. I installed the registration plates with thin double-sided adhesive tape, but not the manufacturer’s plates, which are definitely too small.
Problem with slanted buffer beams
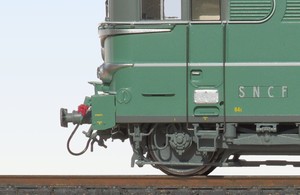
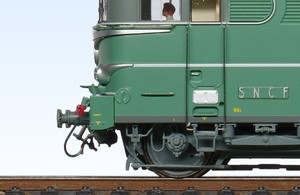
According to Christophe Dufresnoy (AMF87), this slant is due to small burrs. I did find one, which I scraped off, but that was not sufficient. I also scraped off the paint on the inside, which is located under the body.
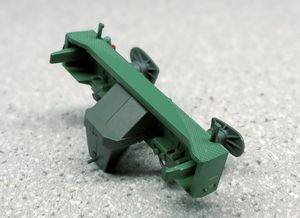
Click on the photo
to zoom in on the burr.
The buffer beams lock the chassis in place. However, when they are missing, we can see that the chassis protrudes from the edge of the body. It is even slightly crooked. This puts pressure on the buffer beam tenons, which probably contributes to their poor positioning.
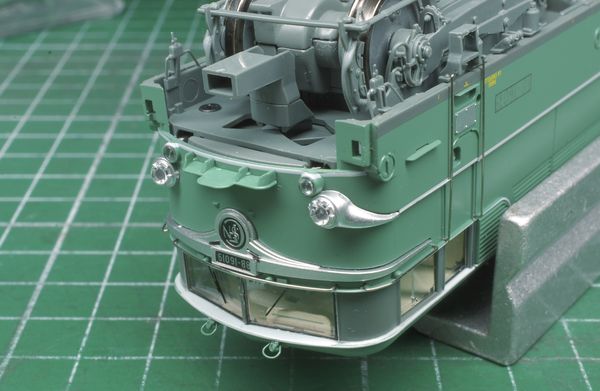
Click on the photo for a closer view.
I am going to work on the tenons in two ways:
- by shortening their extension, which was probably intended to improve their hold, but which has the adverse effect of bending them out of shape if the chassis presses on them.
- by forcing them into an angle opposite to that of the buffer beam.
To do this, I prepare wedge-shaped (trapezoidal) shims. Their dimensions must be as shown in the drawing oppositebelow. It is difficult to obtain precise measurements. Therefore, I proceed empirically, as follows.
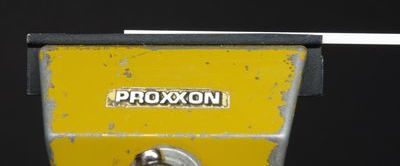
An Evergreen profile with a cross-section of 2.5 × 1 mm is cut to obtain a slightly slanted side. To do this, I place it at an angle in the vice and plane off the excess with a cutter along the jaws.
Using the calliper, I measure along the profile to find the needed minimum width of 2 mm. I cut at this point and place it under the tenons to check whether it fits with a slight amount of resistance. If it is too loose, I cut a little further along. When it is correct, I cut a section approximately 2.5 mm long, which I force under the tenon. No need to glue.
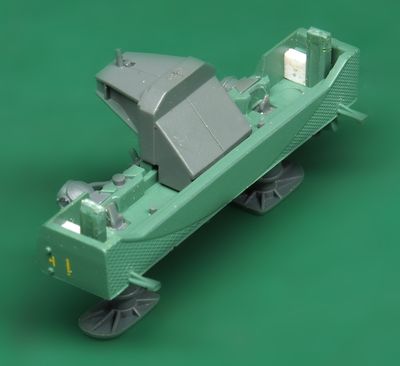
Thanks to these wedges, the tenons are pushed up slightly, which produces the same effect for the buffer beam. Comparison before and after.