Page created on 10/04/2026.
A matter of buffers
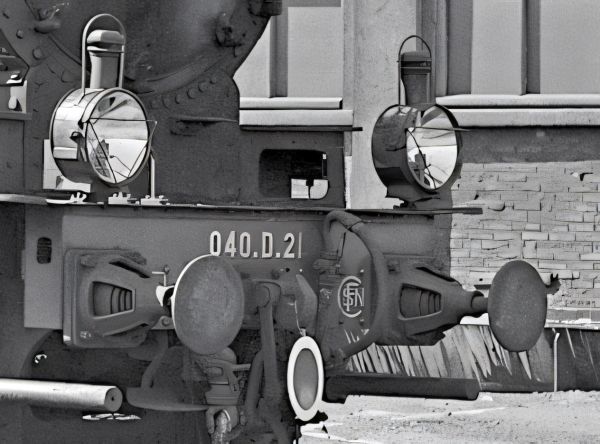
The buffers on the Jouef locomotive, like those on the tender, are not accurate. However, it is clear that the real-life buffers are not “classic” Nord-type buffers, as seen on the 231-E “Chapelon”, for example.
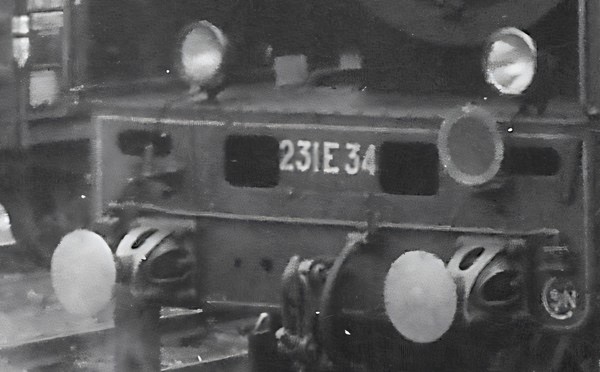
Here is a comparison with those of a 2-040-D.
Note that the bases protrude beyond the buffer beam.
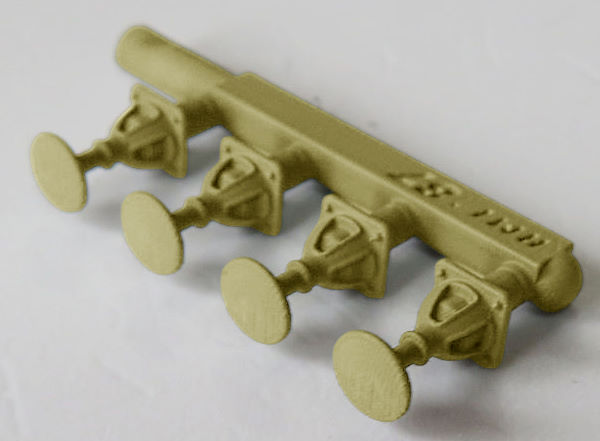
Fortunately, suitable buffers are available from the model maker AMF87.
Photo: AMF87.
Installation on the tender
As I do not know what to expect, I will begin with the tender, which has far fewer fragile parts than the locomotive.
Removing the old buffers
To remove the old buffers, I first try pulling on the buffer head: it comes away from the body. I cannot get the buffer body to come away, pulling gently, or even when gripping it with a small hand mandrel.
I therefore decide to drill the body with increasing diameters, 1.6, 1.8 and 1.9 (the shank diameter of AMF buffers is 1.8). For the first one, this is enough to get it out. For the other, I have to drill up to ⌀ 2.
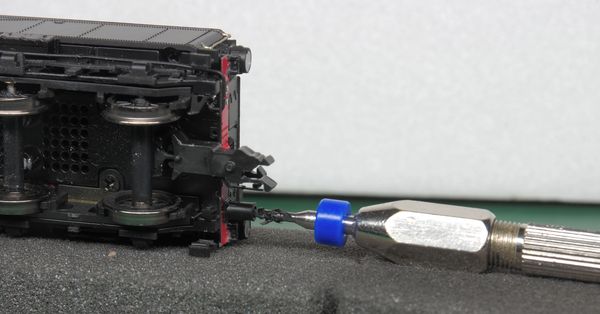
The buffer body has come loose and remains on the ⌀ 2 drill bit.
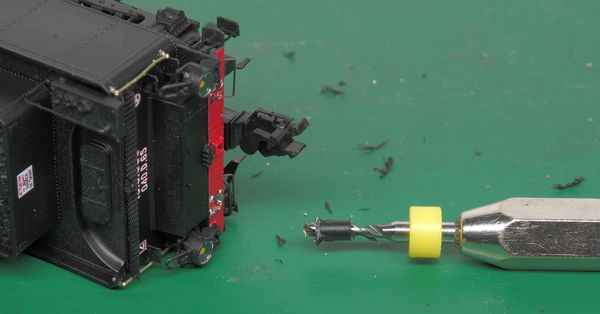
It was impossible for me to re-drill the metal crossbar to ⌀ 1.9, as the recess (the mortise) is rectangular and not aligned with the centreline.
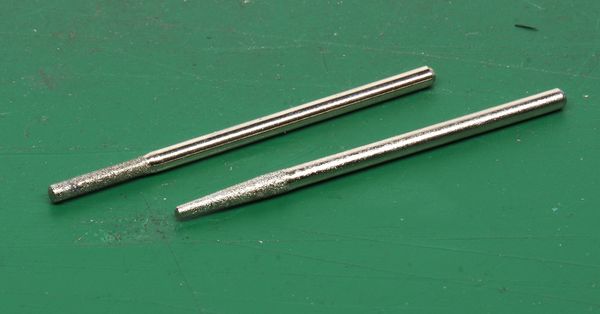
I tried using a rat-tail file, but the hole becomes oval-shaped towards the bottom due to the thick material at the top, and then with ⌀ 1.5 conical and cylindrical diamond cutters.
Here are the cutters used.
For the second buffer, I gave up trying to drill a 1.9 mm diameter hole. I simplify things by shortening the shank of the buffer further; it does not fit into the hole anyway, so it cannot be used for centring.
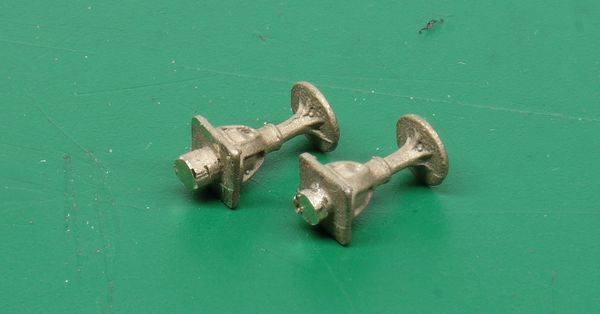
Appearance of the holes; on the left, the first one machined: you can see that the attempt to re-drill has veered downwards. The plastic residue stuck to the buffer beam still needs to be cleaned off.
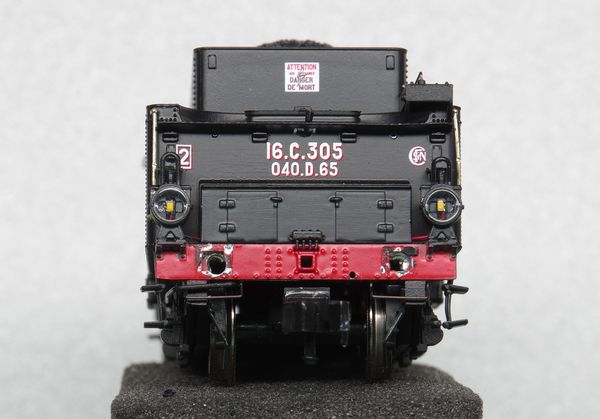
Dry fit.
Note: it would be worth silver-plating the base of the lanterns… without blinding the LEDs.
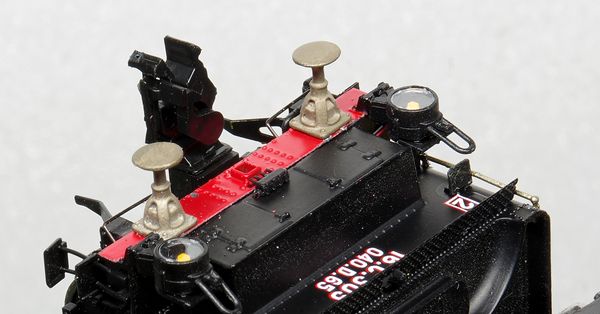
Fitting the buffers
The buffers are degreased using soda lye, then blackened with the Railcolor product. They are fitted as in the dry run, and glued using Uhu Super.
The result is acceptable, but the left buffer, viewed from the rear, is slightly lower than the other and slightly offset towards the centre of the buffer beam. The spacing between the buffers is 19.5 mm instead of 20 mm. Fortunately, this is virtually invisible in practice.
Installation to the locomotive
Removing the old buffers
This is a more delicate operation than before, and therefore takes longer than for the tender. I hold the locomotive between two pieces of 6 mm thick extruded polystyrene. I drill the holes successively to 1.5 – 1.7 – 2 – 2.2 – 2.4 – 2.6 mm.
The bases are removed using an X-Acto knife.
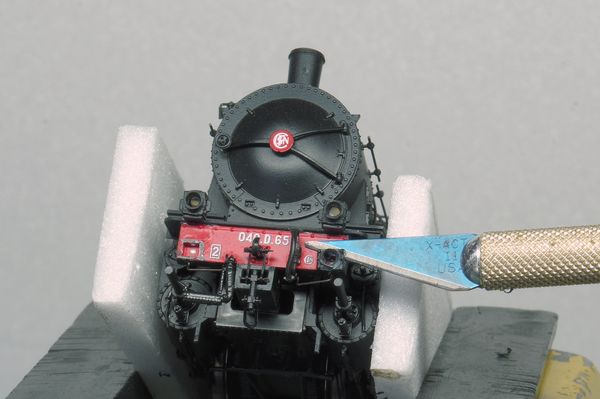
With both buffers removed, the misalignment (drill mark) relative to the base is clearly visible.
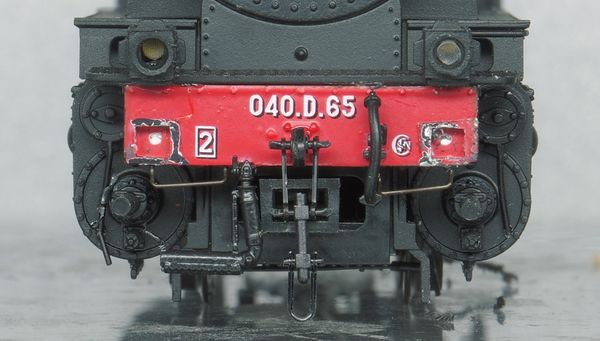
Preparing the new buffers for the locomotive
The preparation process is the same as for the tender, except that I clean, strip and blacken the buffers before detaching them from the sprue. This makes them easier to handle.
Holding the buffers in place for gluing
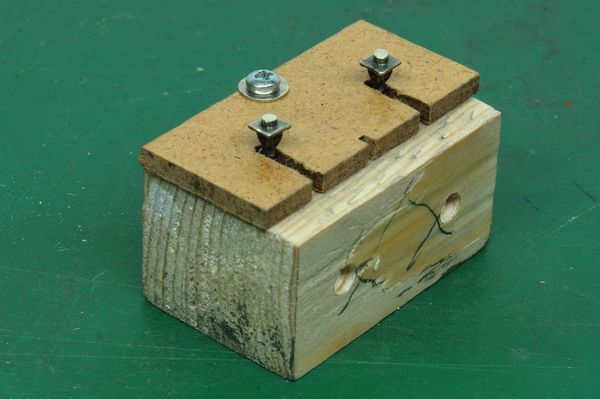
This time, to avoid the misalignment observed on the tender, I make a fitting jig.
It consists of:
- a wooden body, machined so that the buffers are positioned exactly at the height specified by NEM 303 (12.2 ± 0.5) once placed on the track;
- an MDF or similar flange fitted with two slots for the buffer shanks to pass through.
The assembly is secured using a ⌀ 2.2 Parker screw, which may seem too off-centre, but you need to be able to unscrew it once the buffers have been glued in place!
The recess for the ⌀ 4 plates must be approximately 0.5 mm deep. If it is any deeper, the buffers will not remain perpendicular to the jig.
Here is the assembly with the buffers attached, before I realised I needed to leave space for the coupling (⌀ 6 hole)! I could also have removed the latter…
To prevent the buffers from turning whilst being positioned, I placed a thin double-sided adhesive strip at the bottom of the holes for the plates.
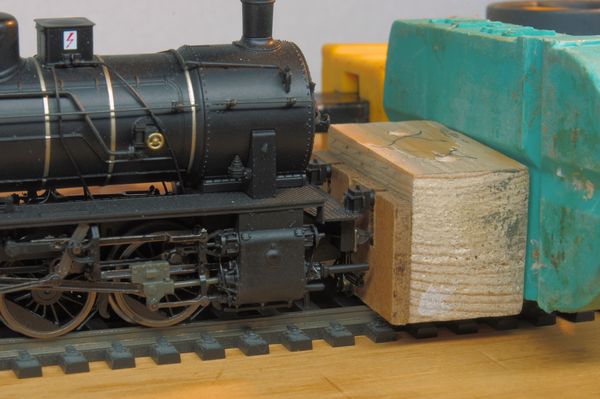
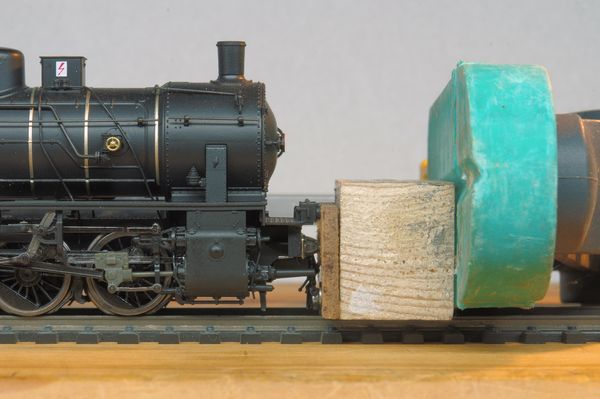
The gluing process is carried out by placing the machine under pressure using a clamp (applied very gently!) with a block of extruded polystyrene inserted at the back. Overview:
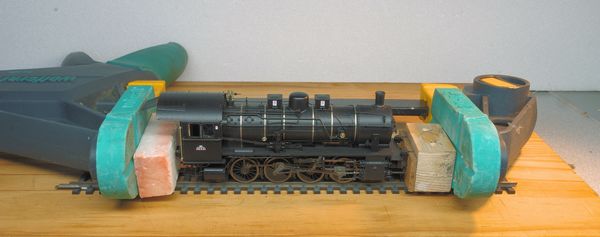
Detailed views.
Result
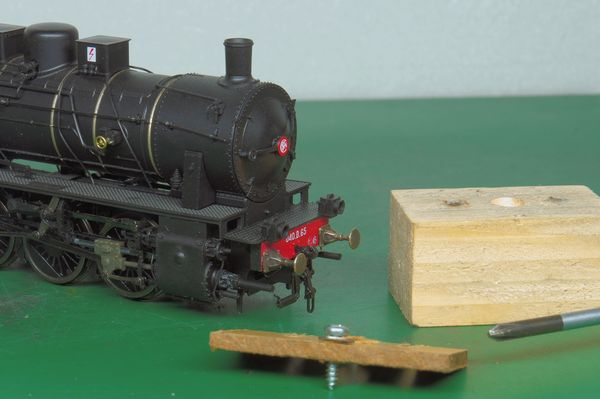
The buffers are perpendicular, and the bases are aligned, but there is still a small gap between the bases and the buffer beam below. Furthermore, the burnishing needs to be improved. NB: I removed the air hose that was getting in the way; it was put back in place afterwards.
Comparative views before and after the modification.
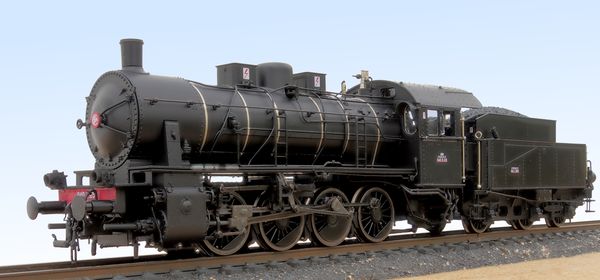
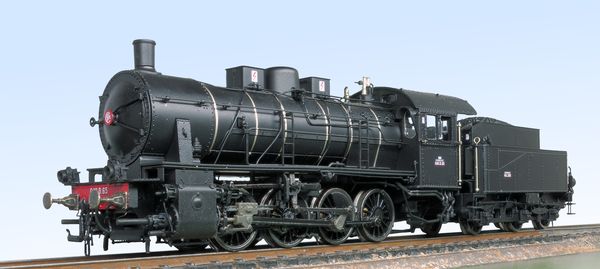
Conclusion
I hope this very modest modification will give you an idea of how to proceed, without too much trial and error, as I experienced.
Set of No 5 Nord buffers
Ref. A353, €10,80 (price 2026)
at AMF87